Any visitor can add a business to the directory from the List Your Business button, without registering. Business owners who plan to manage several listings can instead create an account and add listings from the user panel.
Step 1: Choose a package
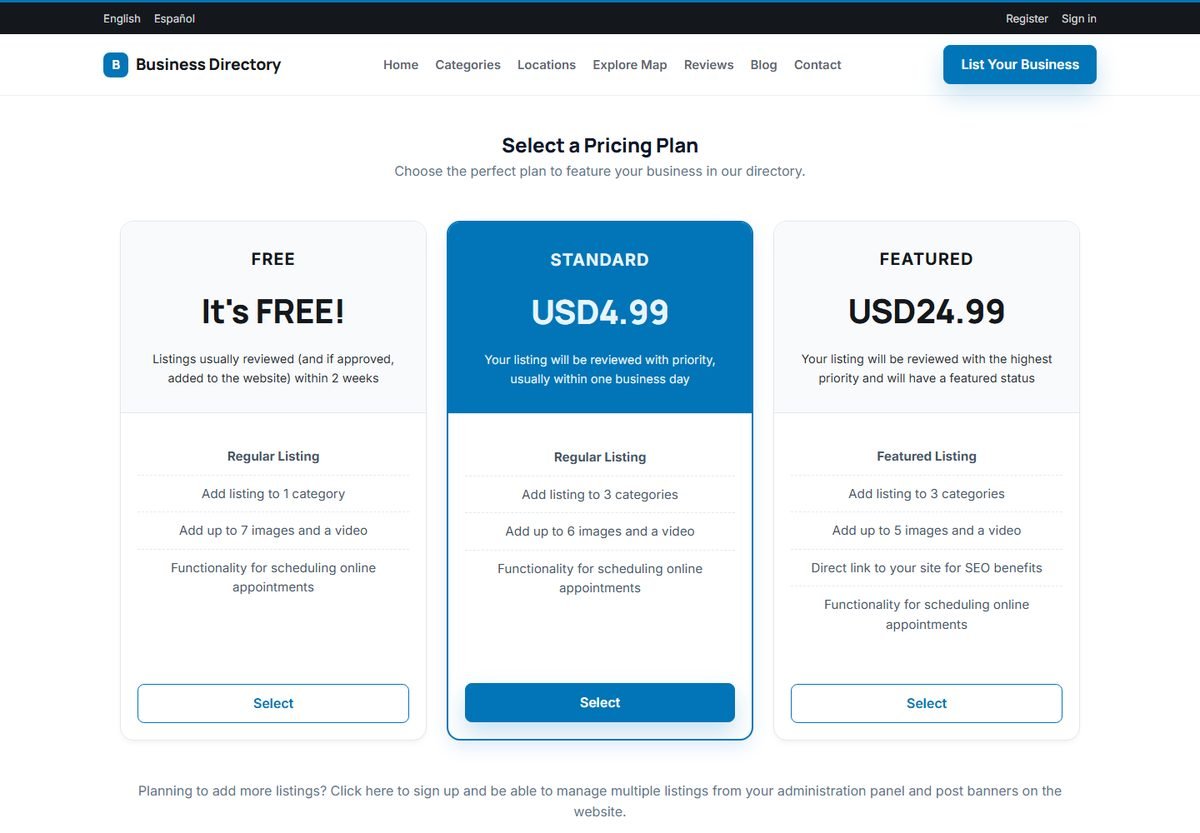
The first page shows your packages side by side, with their prices and what each one includes: number of categories, number of images, featured status, a direct link for SEO and appointment booking. The visitor clicks Select under the chosen package.
Step 2: Fill in the listing form
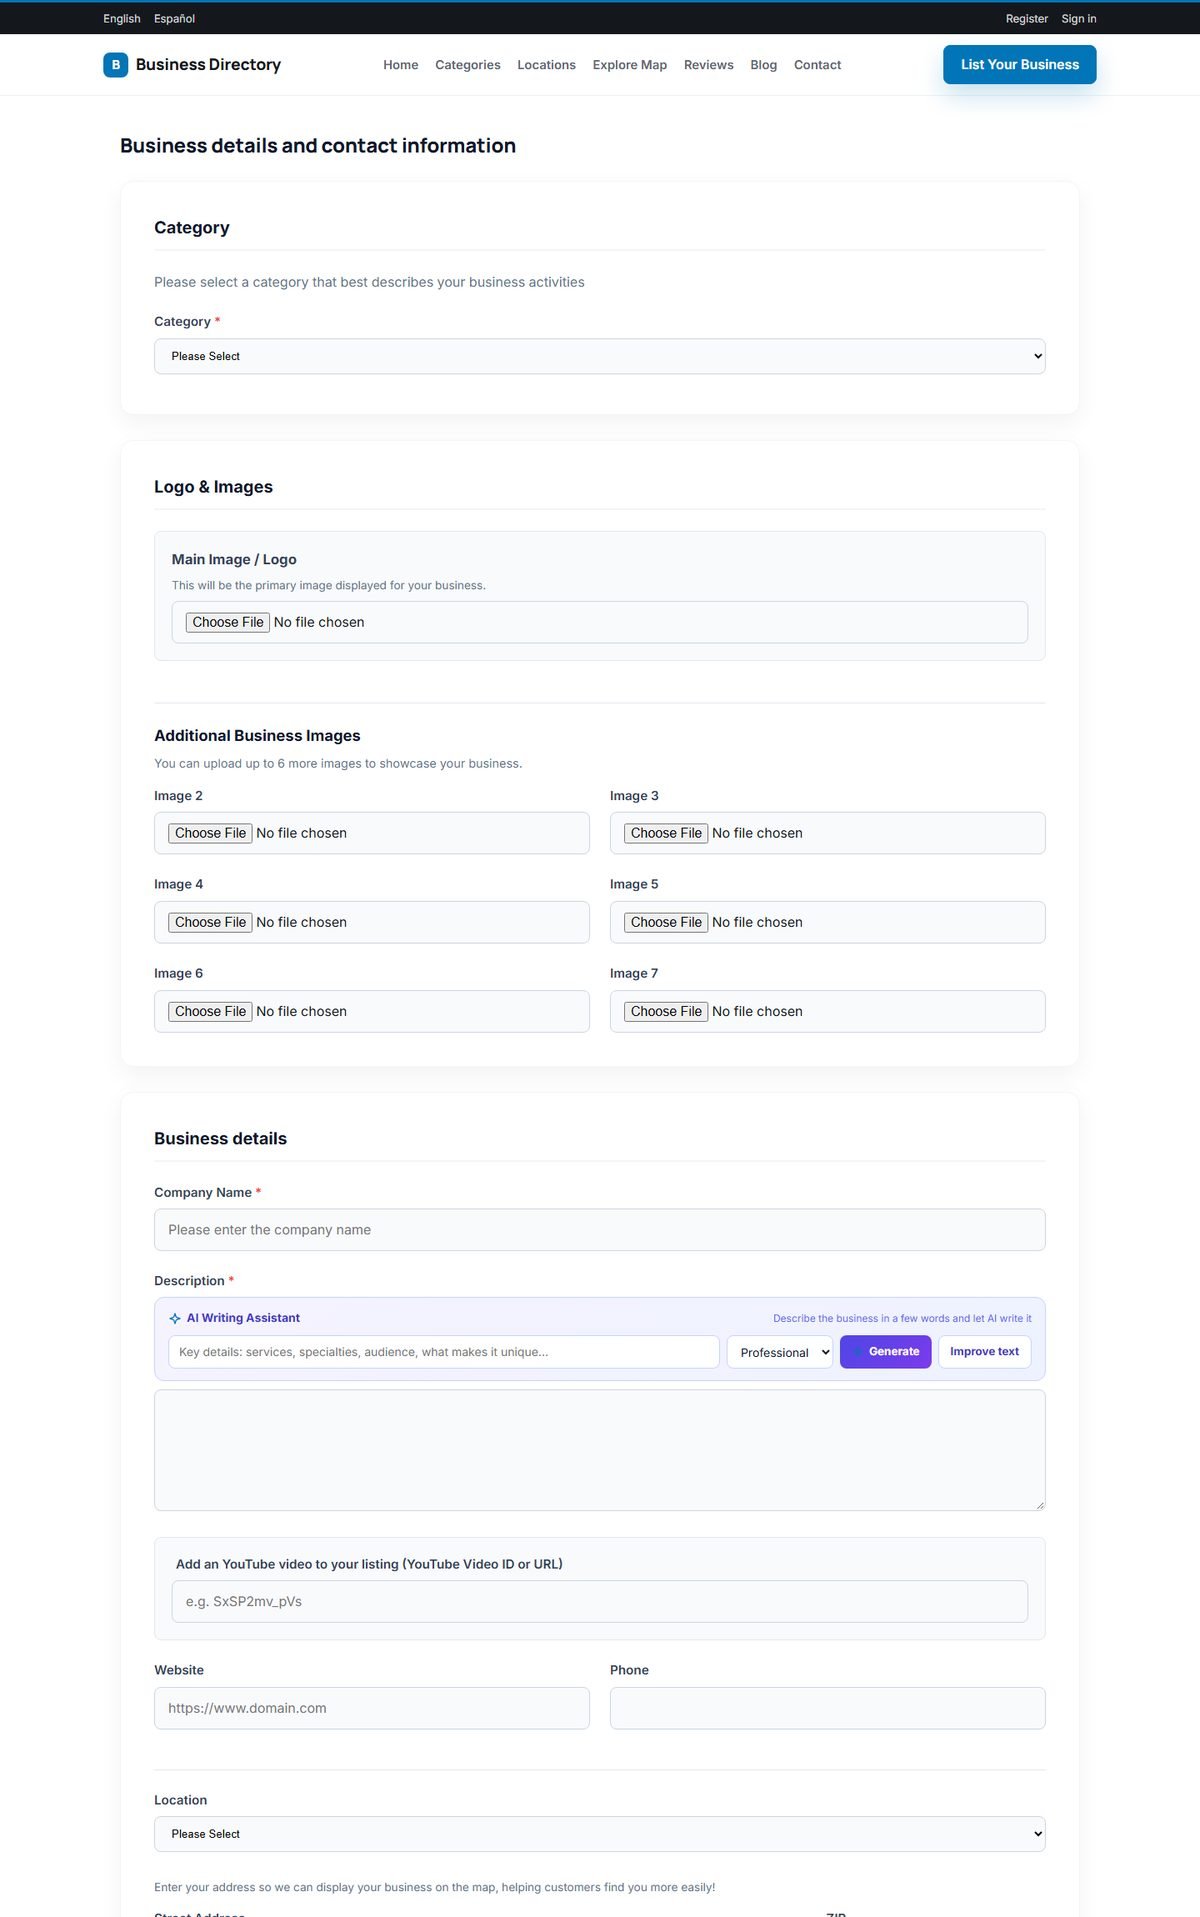
The form is divided into sections:
- Category: one to three categories, depending on the package.
- Logo & Images: the main image or logo, and additional photos up to the package limit.
- Business details: the company name, the description, an optional YouTube video (ID or link), the website and phone number, and any custom fields you added.
- Location: the location from your location list, the street address and zip code. The Add a map to your listing button finds the address on the map; the pin can be dragged to the exact entrance, or the latitude and longitude can be entered directly.
- Hours: opening hours for each day, added with Add hours.
- Owner Information: the contact person and email address. The email address receives the confirmation and the code for editing the listing.
The AI writing assistant
When the AI features are enabled, an AI Writing Assistant box appears next to the description:
- The owner types a few key facts, for example "family bakery since 1998, sourdough, vegan cakes, open Sundays".
- They choose a tone: professional, friendly, premium, energetic or concise.
- They click Generate. The AI writes a description that uses the name, category, location and website already entered in the form, in the visitor's language.
Improve text rewrites a description the owner has already written, fixing grammar and making it clearer. Every result can be undone. The AI is instructed not to invent facts such as years in business, awards, prices or certifications.
You can decide whether visitors who are not logged in may use the assistant; see Setting Up the AI Features.
Step 3: Confirmation and payment
After Submit, the owner sees a confirmation message, which you can edit (Success Message Free and Success Message Paid in Directory Configuration Options).
For a paid package, the payment options you enabled are shown right away. A card payment opens Stripe's secure payment page and returns to a confirmation page; PayPal is paid without leaving the website; bank transfer shows your account details and a reference. See Payments: Stripe, PayPal and Bank Transfer.
The listing then waits for approval in Admin Panel › Directory › Approve Listings, unless Auto Approve Listings is switched on.
Editing a listing later
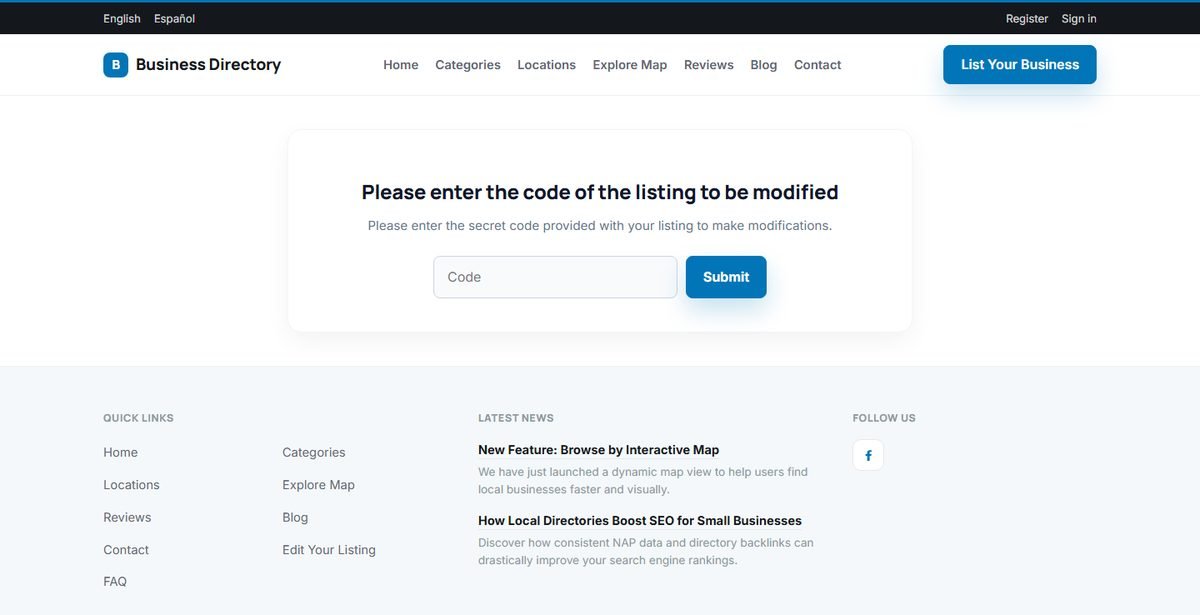
Owners who submitted a listing without an account receive a secret code with it. To change the listing later, they open Edit Your Listing from the menu or footer and enter the code.
Registered users simply edit their listings in the user panel.